Essential Guide to Effective Drywall Installation in 2025: Tips to Achieve Professional Results
Essential Guide to Effective Drywall Installation in 2025: Tips to Achieve Professional Results
Installing drywall can seem daunting, but with the right tools and techniques, you can achieve professional results in your home improvement projects. In this comprehensive guide, we will explore everything you need to know about installing drywall, from preparing your space to finishing touches. Whether you’re a DIY enthusiast or a seasoned contractor, this article offers valuable insights into drywall installation for various applications.
Preparing for Drywall Installation
Before you begin your drywall installation journey, proper preparation is crucial. Start by assessing the space and ensuring the walls are clean and free of debris. Proper measuring drywall is a key step in ensuring that your sheets fit perfectly. Use a stud finder to locate wooden studs and map out a grid where you’ll install your drywall panels. A detailed drywall installation checklist covering these preliminary steps can save you time and effort. Additionally, consider keeping insulation behind drywall as it can enhance energy efficiency.
Measuring and Cutting Drywall
Accurate measuring drywall is essential to avoid wastage and ensure a snug fit. Use a tape measure to get the correct dimensions of each wall, accounting for openings and fixtures. When cutting drywall, utilize a reliable drywall knife or a rotary cutter for clean edges. Score the front side with your knife and then snap the drywall to create a straight break, followed by cutting the paper backing. This technique not only improves efficiency but also ensures clean cuts for better fitting.
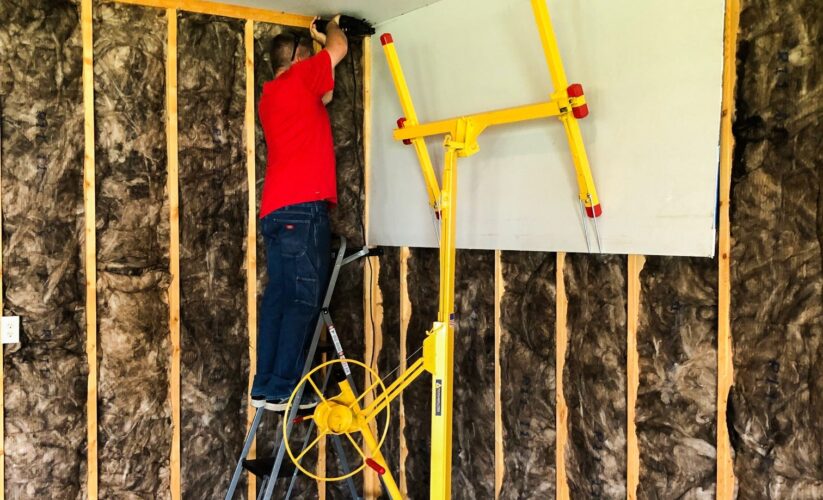
Tools Needed for Installation
A well-equipped toolbox is fundamental for successful drywall projects. Essential drywall tools include a T-square for accurate measuring, a drywall saw for cutting, and a drill for attaching drywall. Always use the right drywall fasteners, like drywall screws for hanging and corner beads for edges. Keeping these tools organized will enhance your workflow and assist you in maintaining a professional drywall finish.
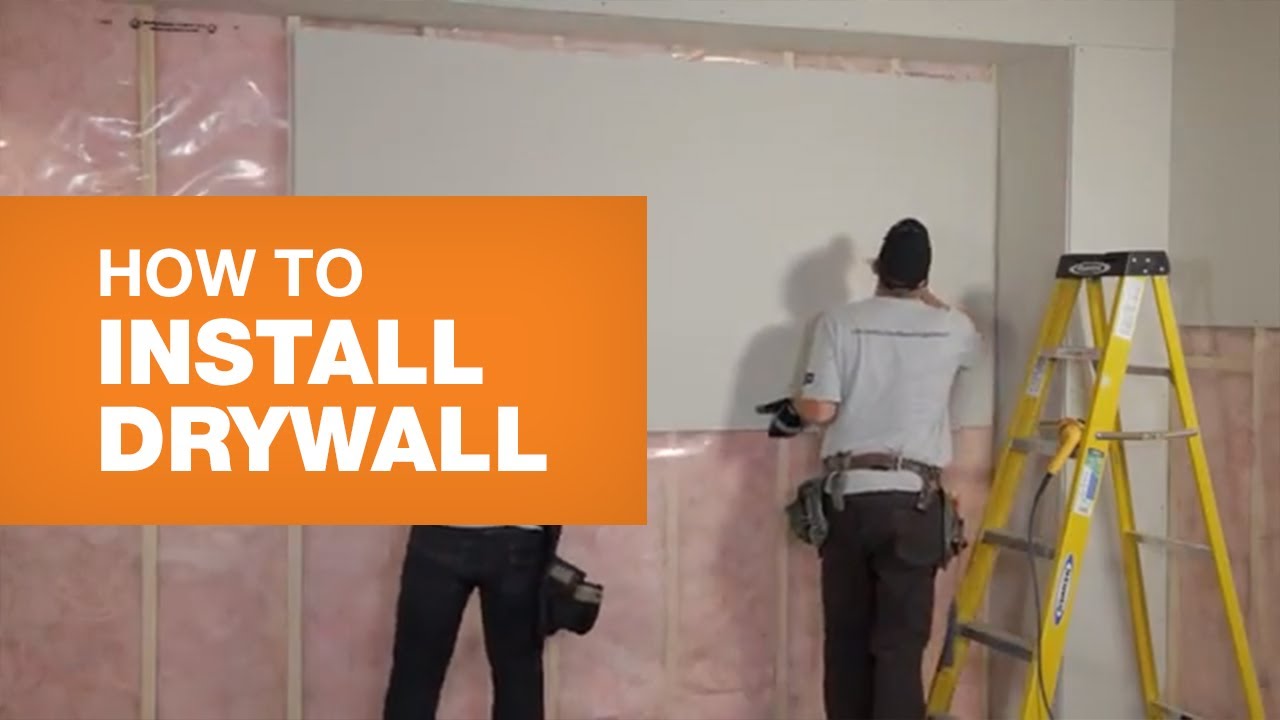
Drywall Attachment Methods
Once you’ve prepared your materials and tools, it’s time to focus on attaching drywall. Understanding the various methods can simplify this process significantly. For typical installations, using screws is highly recommended as they provide a secure hold and prevent future warping or sagging.
Using Drywall Screws vs. Nails
When it comes to fasteners, the debate between drywall screws and nails has been longstanding. While both can be effective, screws are often favored because they offer a stronger grip. Be sure to space your screws about 12 inches apart on the framing. If you’re working on a particularly challenging area such as a ceiling, proper screwing techniques are critical to ensure the drywall does not sag.
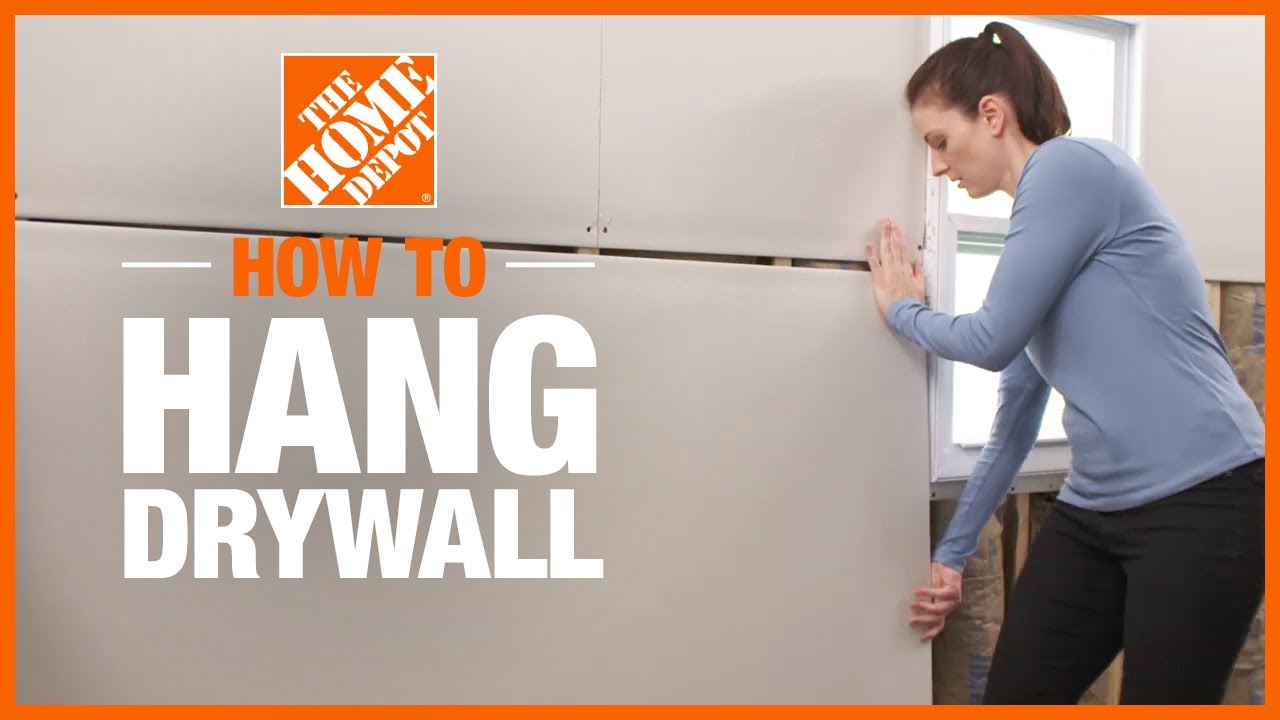
Detailing Drywall Panels
When installing your drywall panels, proper alignment is important to create seamless connections. If you’re installing drywall around windows or doors, cut the drywall with accurate dimensions to leave suitable margins. Utilize corner beads for finishing joints and edges effectively. Once in place, visually inspect your installations to ensure that they are flush and duly aligned.
Finishing and Sanding Techniques
With the drywall securely in place, the finishing stage begins. This process is crucial for achieving a smooth appearance and a professional-level finish. Properly finishing drywall can often be the difference between an amateur and professional look.
Applying Drywall Tape and Mud
The first step in finishing is to apply drywall tape over the seams, followed by a thin layer of drywall mud. Use a taping knife to spread the compound evenly over the tape, filling in any gaps. Allow it to dry thoroughly before applying additional layers. This method aids in minimizing the visibility of seams.
Sanding Techniques for a Smooth Finish
After the final layer of mud has dried completely, it’s essential to focus on sanding. Utilize a fine-grit sandpaper or sanding block to smooth out the surface gently. Remember to wear a mask to avoid inhaling dust particles. For an even more refined touch, consider feathering the edges to blend well with existing walls, enhancing the overall appearance significantly.
Advanced Drywall Techniques and Considerations
For those interested in more advanced solutions, there are specialized drywall types available that cater to specific needs. Moisture-resistant drywall is ideal for high-humidity areas, while fire-resistant drywall is essential for places where safety is paramount. While these products may come at a higher cost, their long-term benefits justify the investment.
Drywall Options for Specialized Use
Explore the various types of drywall available in the market, including standard, green board, and soundproof drywall options. Each type serves unique purposes and can affect costs and installation methods. Understanding the differences between these can aid in making informed decisions when planning your drywall project.
Drywall Safety and Maintenance
Proper safety measures during installation can prevent accidents and ensure a smooth workflow. Always wear protective gear such as goggles, gloves, and masks to safeguard against dust and cuts. Once your drywall is installed, maintain it by checking for cracks and addressing them with appropriate drywall repair techniques. Regular maintenance helps prolong the integrity of your walls.
Key Takeaways
- Accurate measurements and cutting techniques are crucial for effective drywall installation.
- Using screws is generally more effective than nails for attaching drywall.
- Proper finishing techniques, including mudding and sanding, enhance the quality of your work.
- Understanding different drywall types helps in choosing the right material for your project needs.
- Always prioritize safety measures during the installation process to ensure a safe working environment.
FAQ
1. What is the best type of drywall to use in bathrooms?
For bathrooms, moisture-resistant drywall is recommended due to its ability to withstand high humidity levels. This type of drywall helps prevent water damage and mold growth, making it ideal for wet areas.
2. How can I repair cracks in drywall?
To repair cracks in drywall, start by cleaning the area and removing loose material. Apply drywall joint compound, smoothing it down with a putty knife. Once dried, sand it back to create a uniform surface. Finally, paint over the repaired section for a seamless appearance.
3. Are there environmentally friendly options for drywall?
Yes, there are eco-friendly options such as recycled drywall and products made from sustainable materials. Look for green building certifications or labels indicating low environmental impact during the manufacturing process.
4. What are some common mistakes to avoid during drywall installation?
Common mistakes include incorrect measuring and cutting, inadequate spacing of screws, and failure to properly finish the seams. To avoid these, always double-check your measurements and follow guideline techniques closely.
5. How much does drywall installation typically cost?
The cost of drywall installation varies based on factors such as material type, labor, and the size of the area. On average, homeowners can expect to spend anywhere from $1.50 to $3.50 per square foot for installation, including materials.
For more detailed guides on various aspects of drywall installation, explore related articles such as this one and this one.